Packard Bell 300sx Repair
October 21, 2025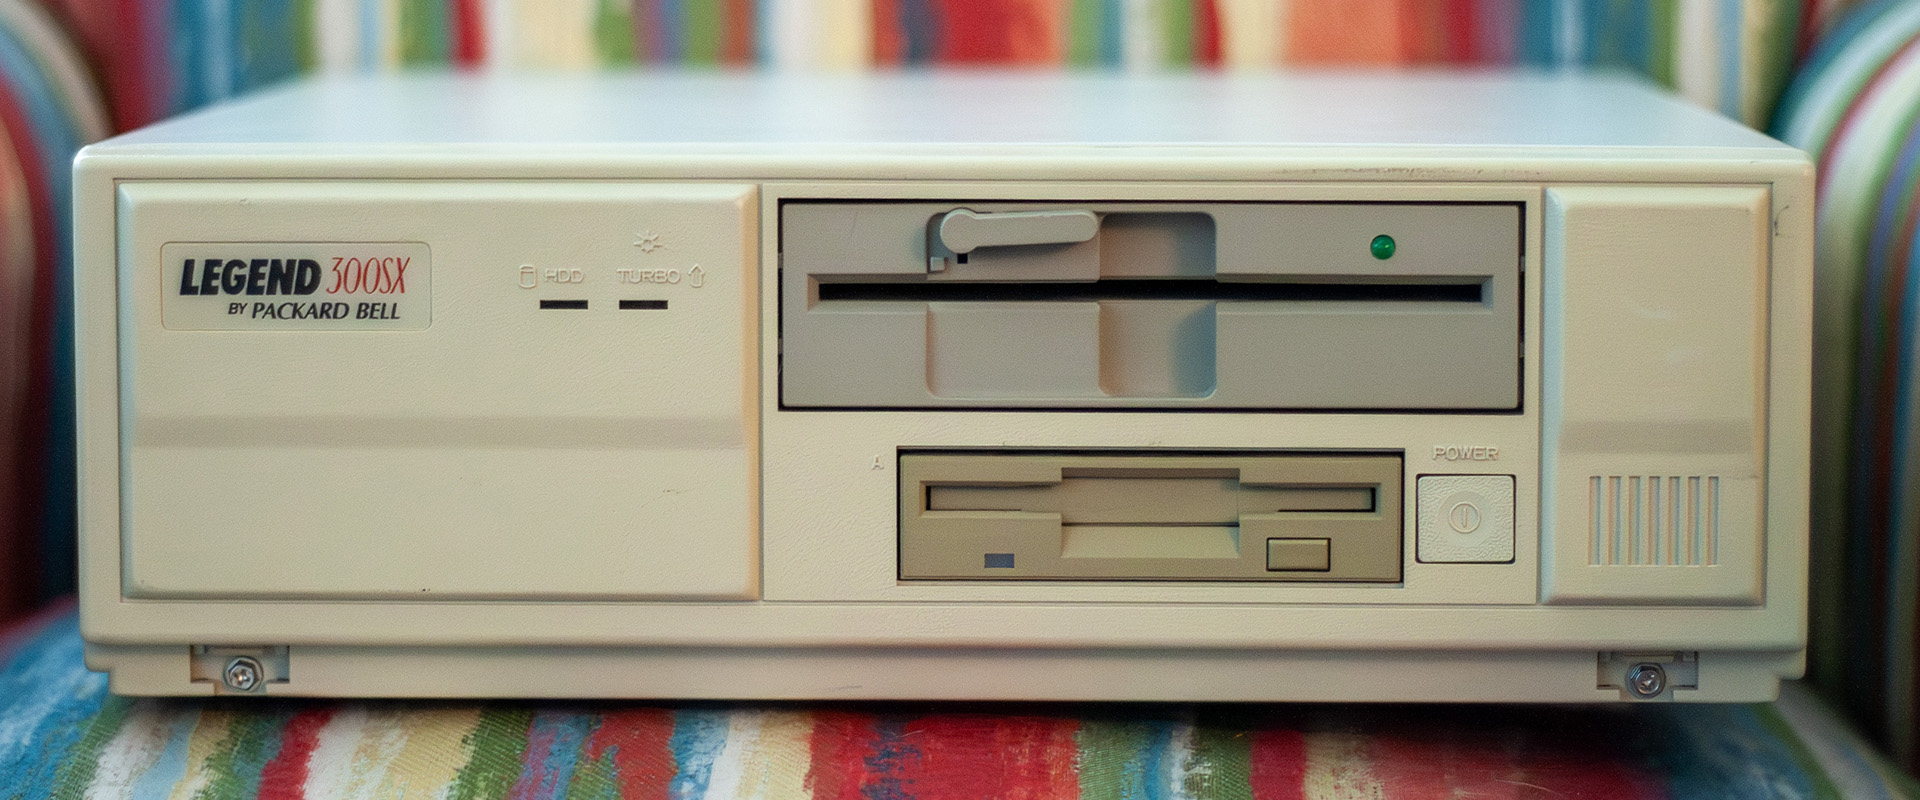
When I saw this fine example of a low-cost 386sx PC in an online auction, I knew that I must have it. At the time this computer was built (likely late 1991 or early 1992), the 80386 processor was already five years old. In fact, its successor, the 486, was already widely available to consumers. This computer was therefore intended for the average PC user that didn’t need raw horsepower, just a machine that would reliably perform typical tasks at a reasonable price point.
I didn’t intend for the intro pictures to have that soft and dreamy Barbara Walters feel, yet here we are.
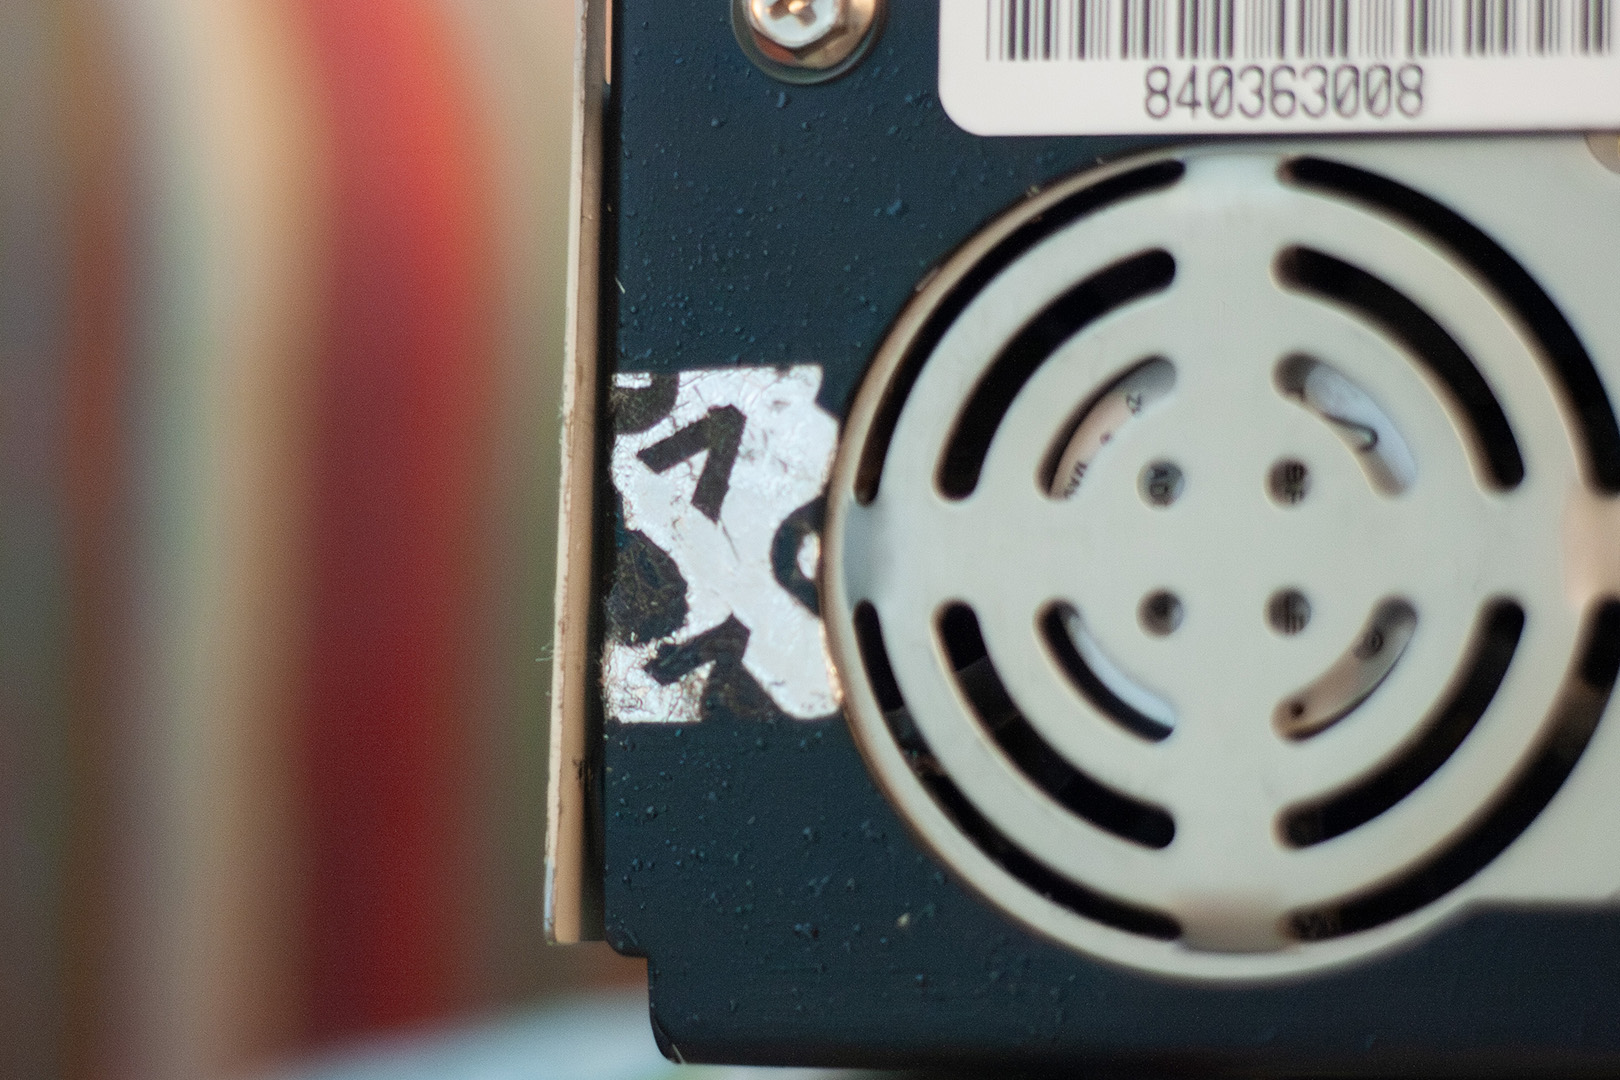
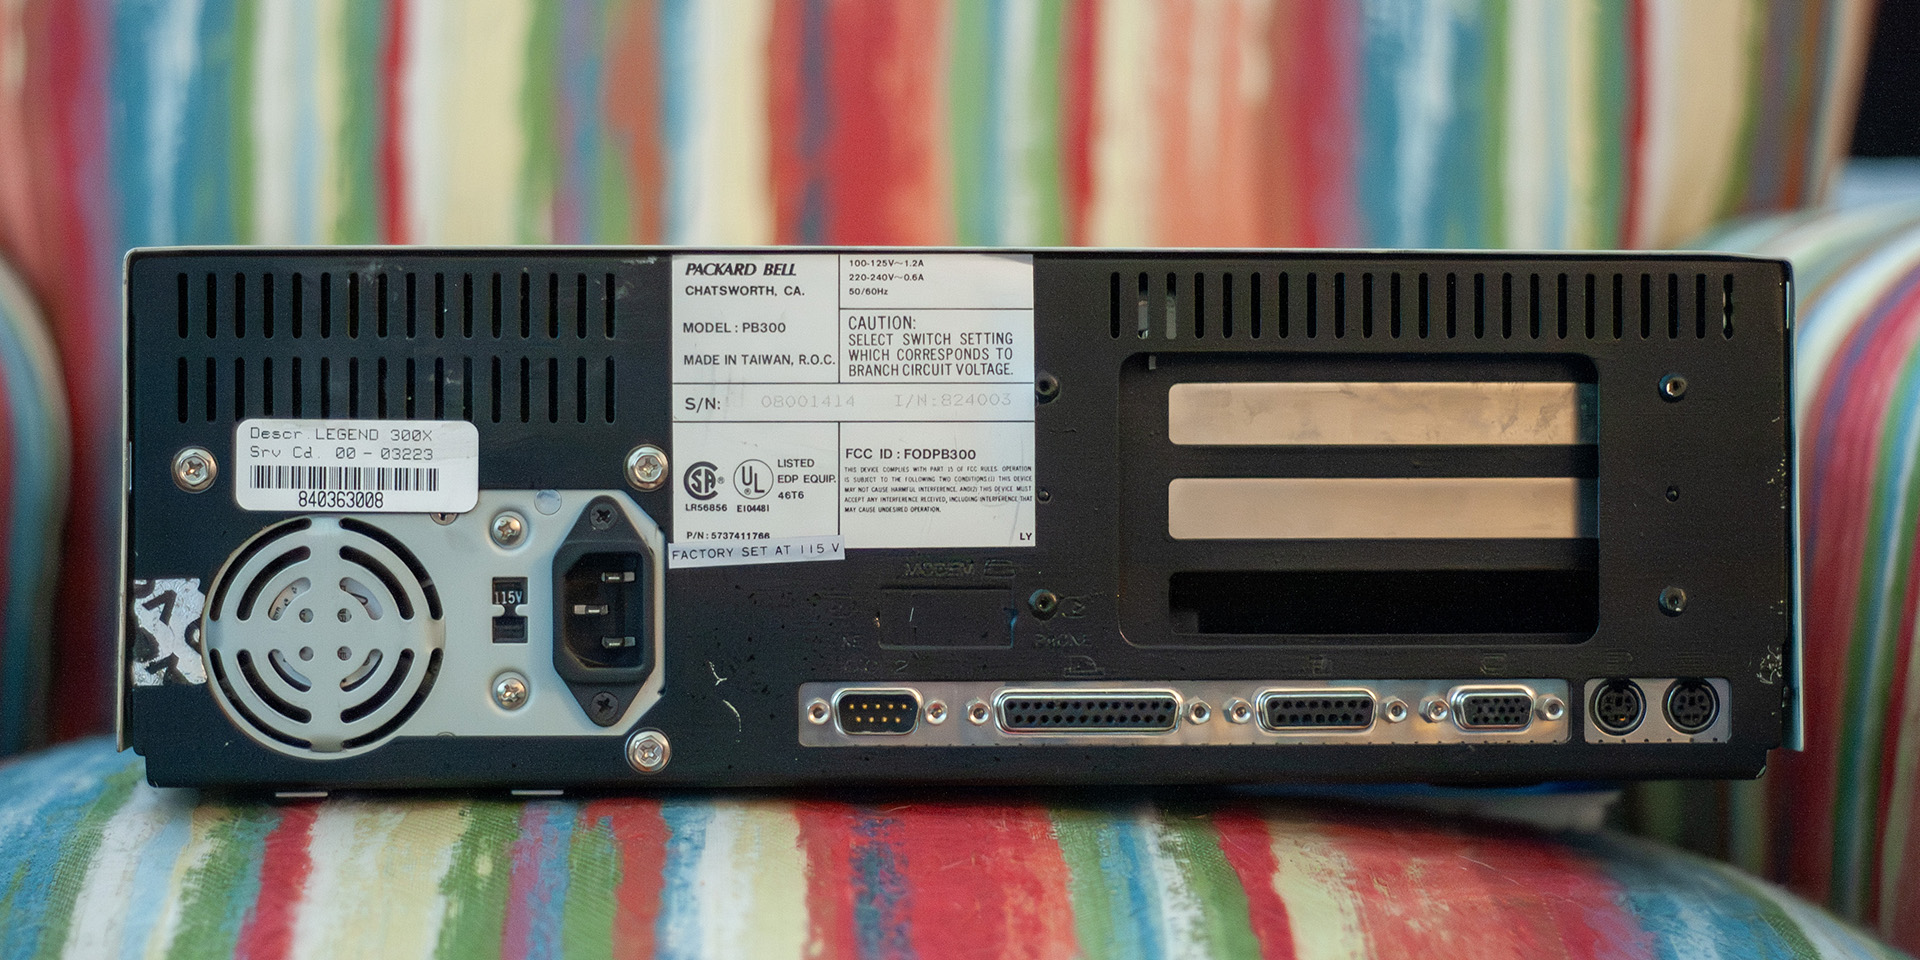
Shit, the warranty!

Yeah, I might have gone a little heavy on the shallow depth of field.
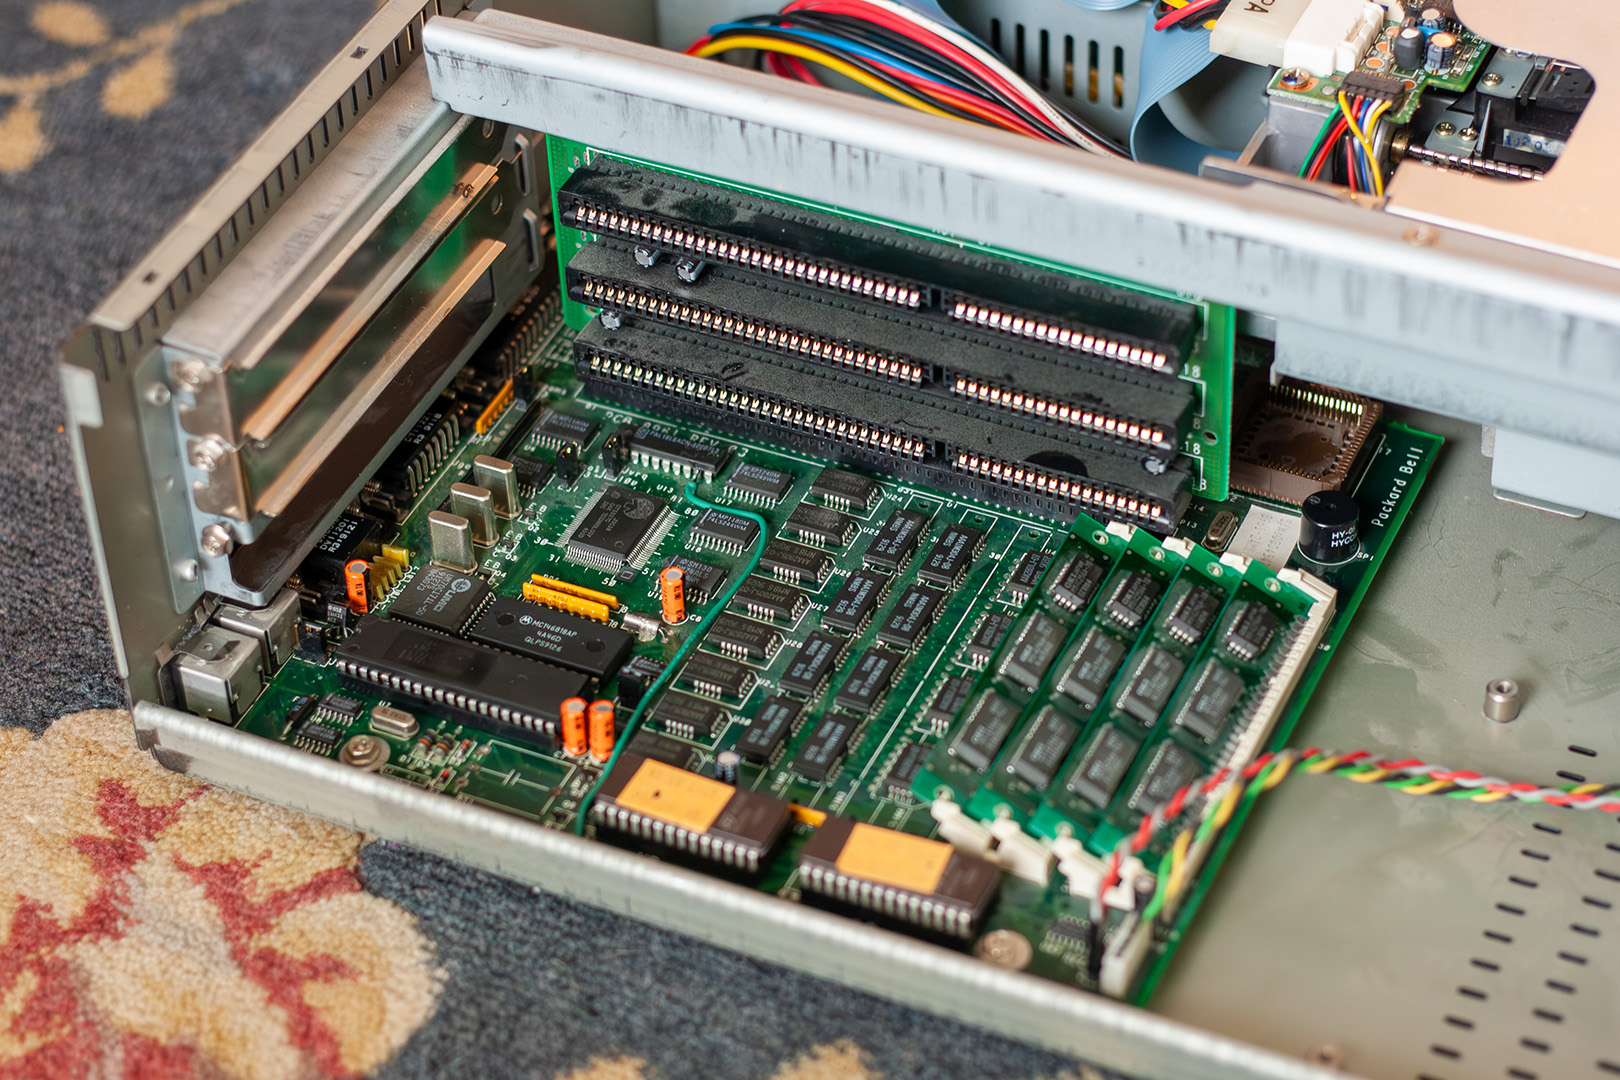
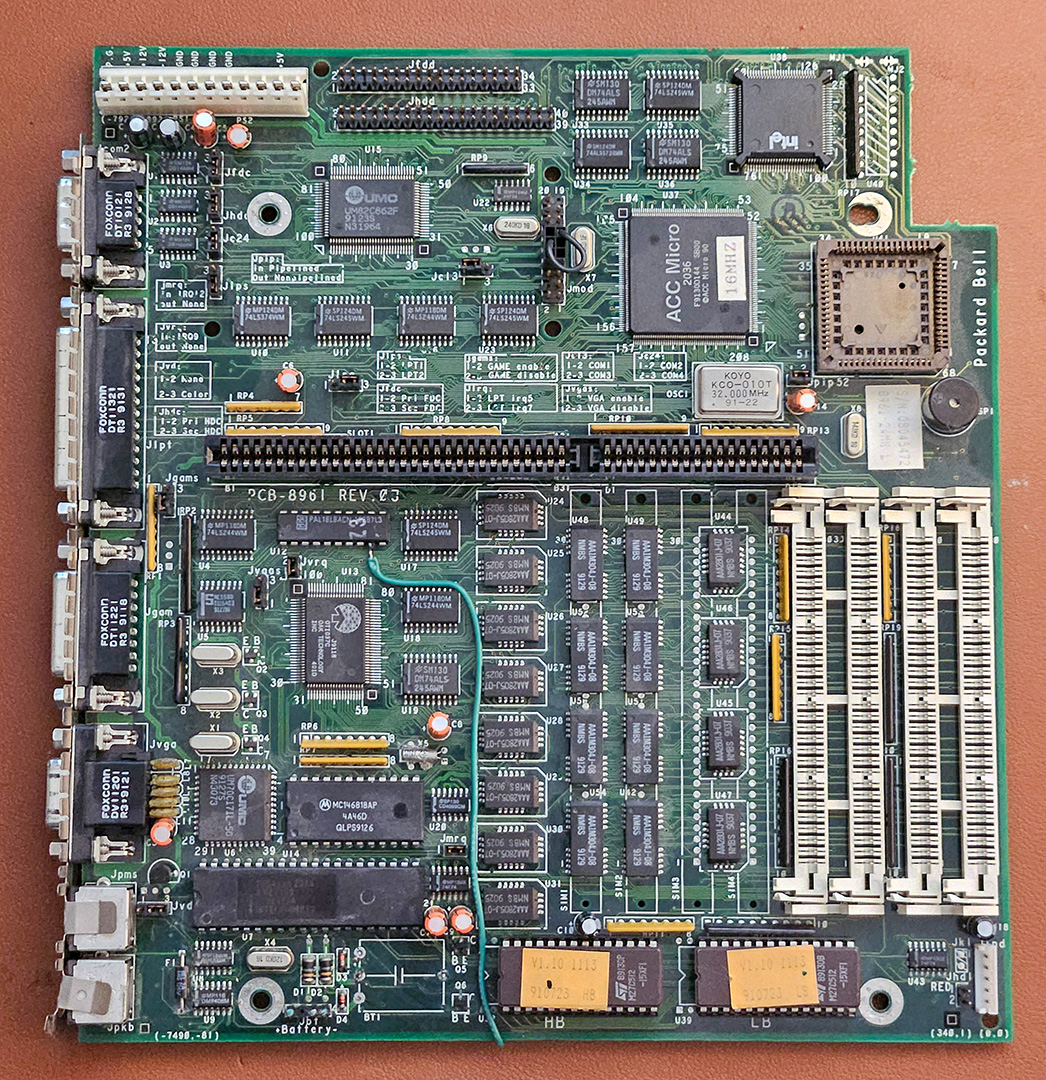
Ignore the bodge wire, we will come back to that in a bit.
Upon receiving this beast, I excitedly plugged it in, attached a keyboard, connected a VGA monitor, and pushed the power switch. The cooling fan spun and the power LED flashed yellow and then green, but the computer showed no other signs of life. No happy BIOS beeps or display output. Clearly, there was work to be done on this old computer. I then opened the case and inspected the motherboard. Unsurprisingly, the soldered-on BIOS battery leaked corrosive goo into the computer. This is likely the cause of [at least one] issue. After removing the battery and cleaning the area, it became clear that the batterysplosion had damaged the motherboard. First, I decided to use my multimeter to verify that circuit board traces in the area still conducted electricity. I set my multimeter to beep-beep (continuity) mode and started looking. Several of the most damaged traces supplied battery power to the BIOS; I temporarily ignored those. At length, I found a broken trace that went between the high BIOS chip and the PAL16LBACN IC near the ISA slot in the center of the motherboard. I then carefully soldered a wire between those points and attempted to start the computer again. Still, no display and no BIOS beep.
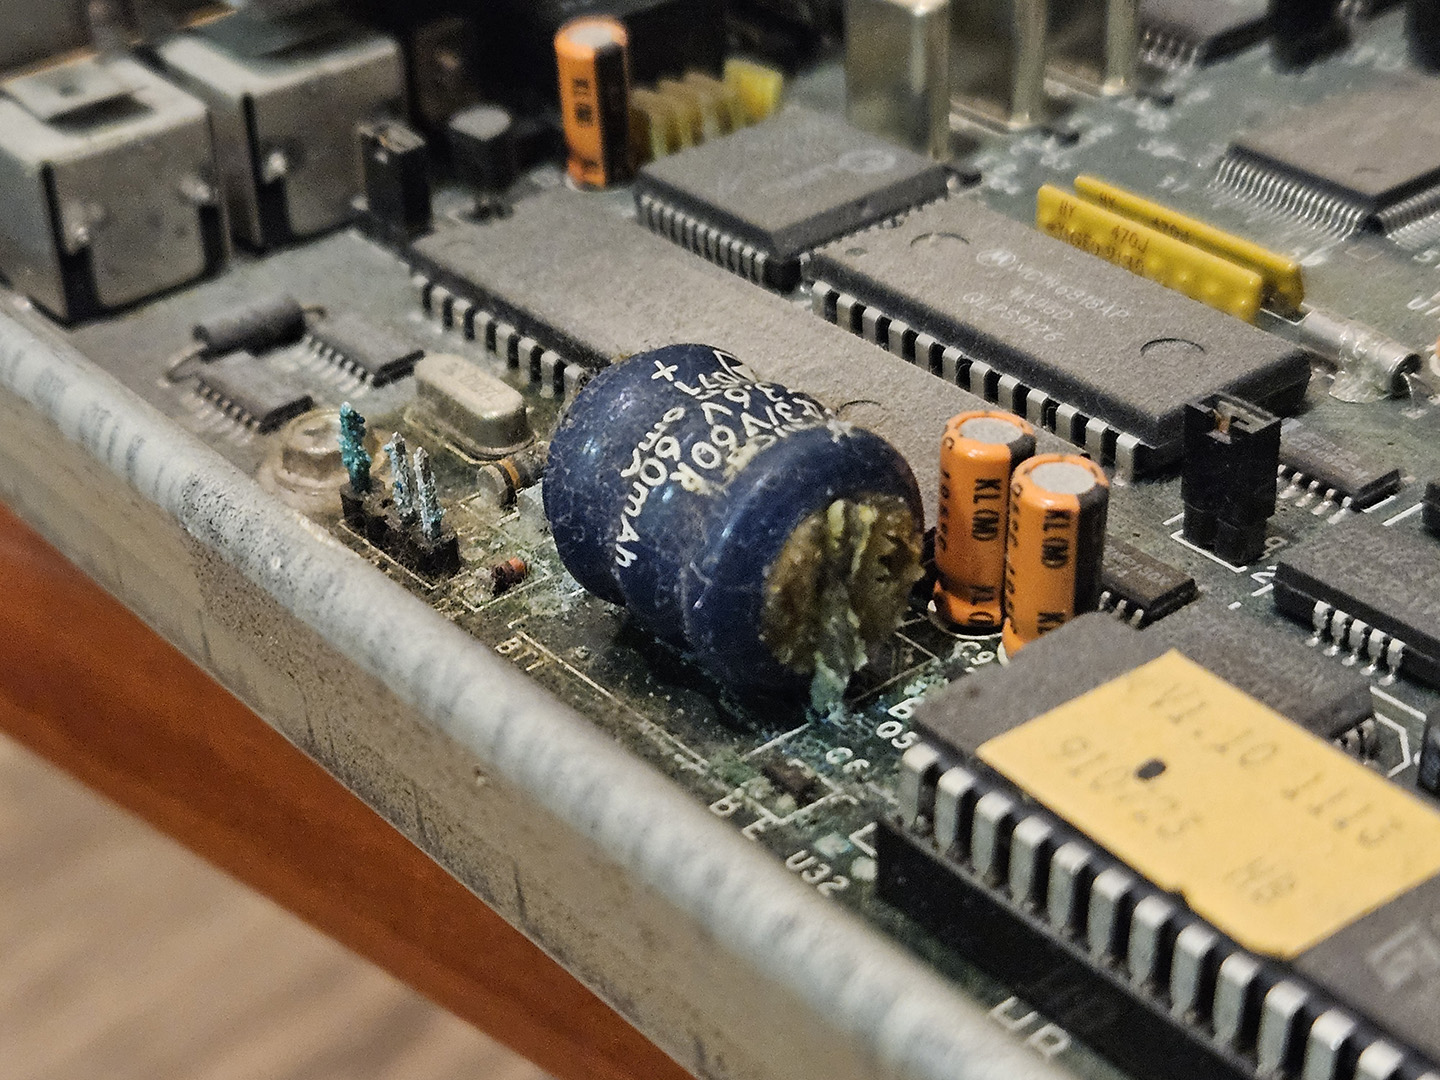
Holy battery corrosion, batman. This mess needs to be removed immediately. Apparently, this is a common problem with old Packard Bell motherboards.
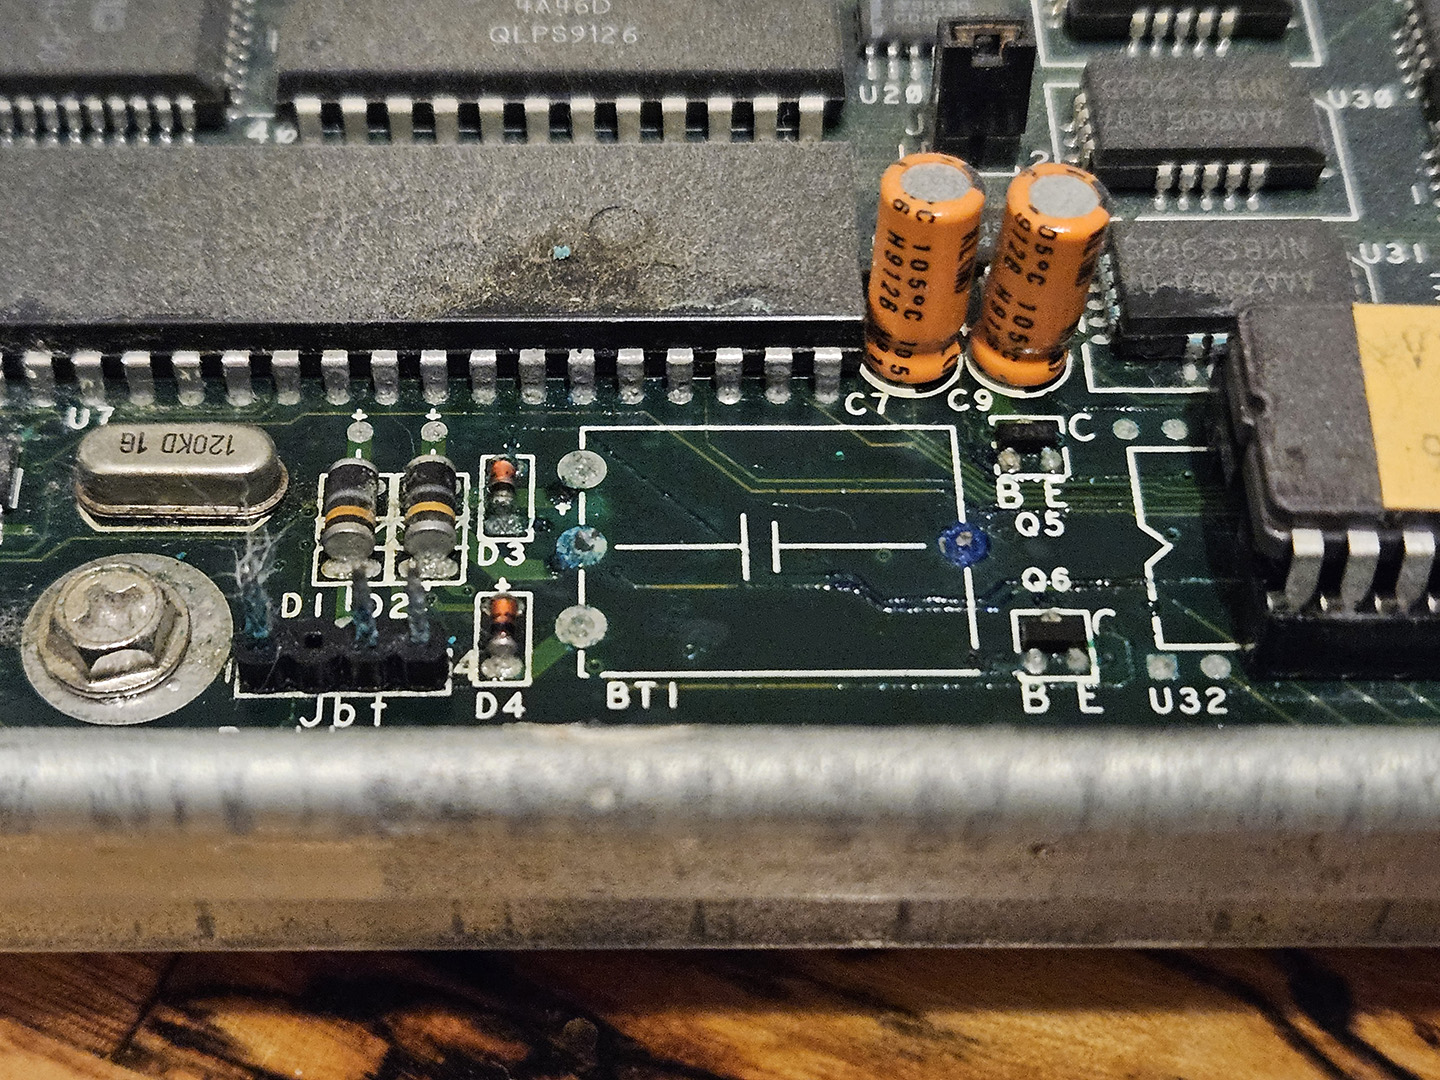
Battery removed, area cleaned. There were clearly some circuit board traces damaged by the dead battery. I will therefore install bodge wires to fix the problem.
Bodge wire installed from pin 9 on the PAL chip...

... to pin 1 on the back side of the high BIOS chip.
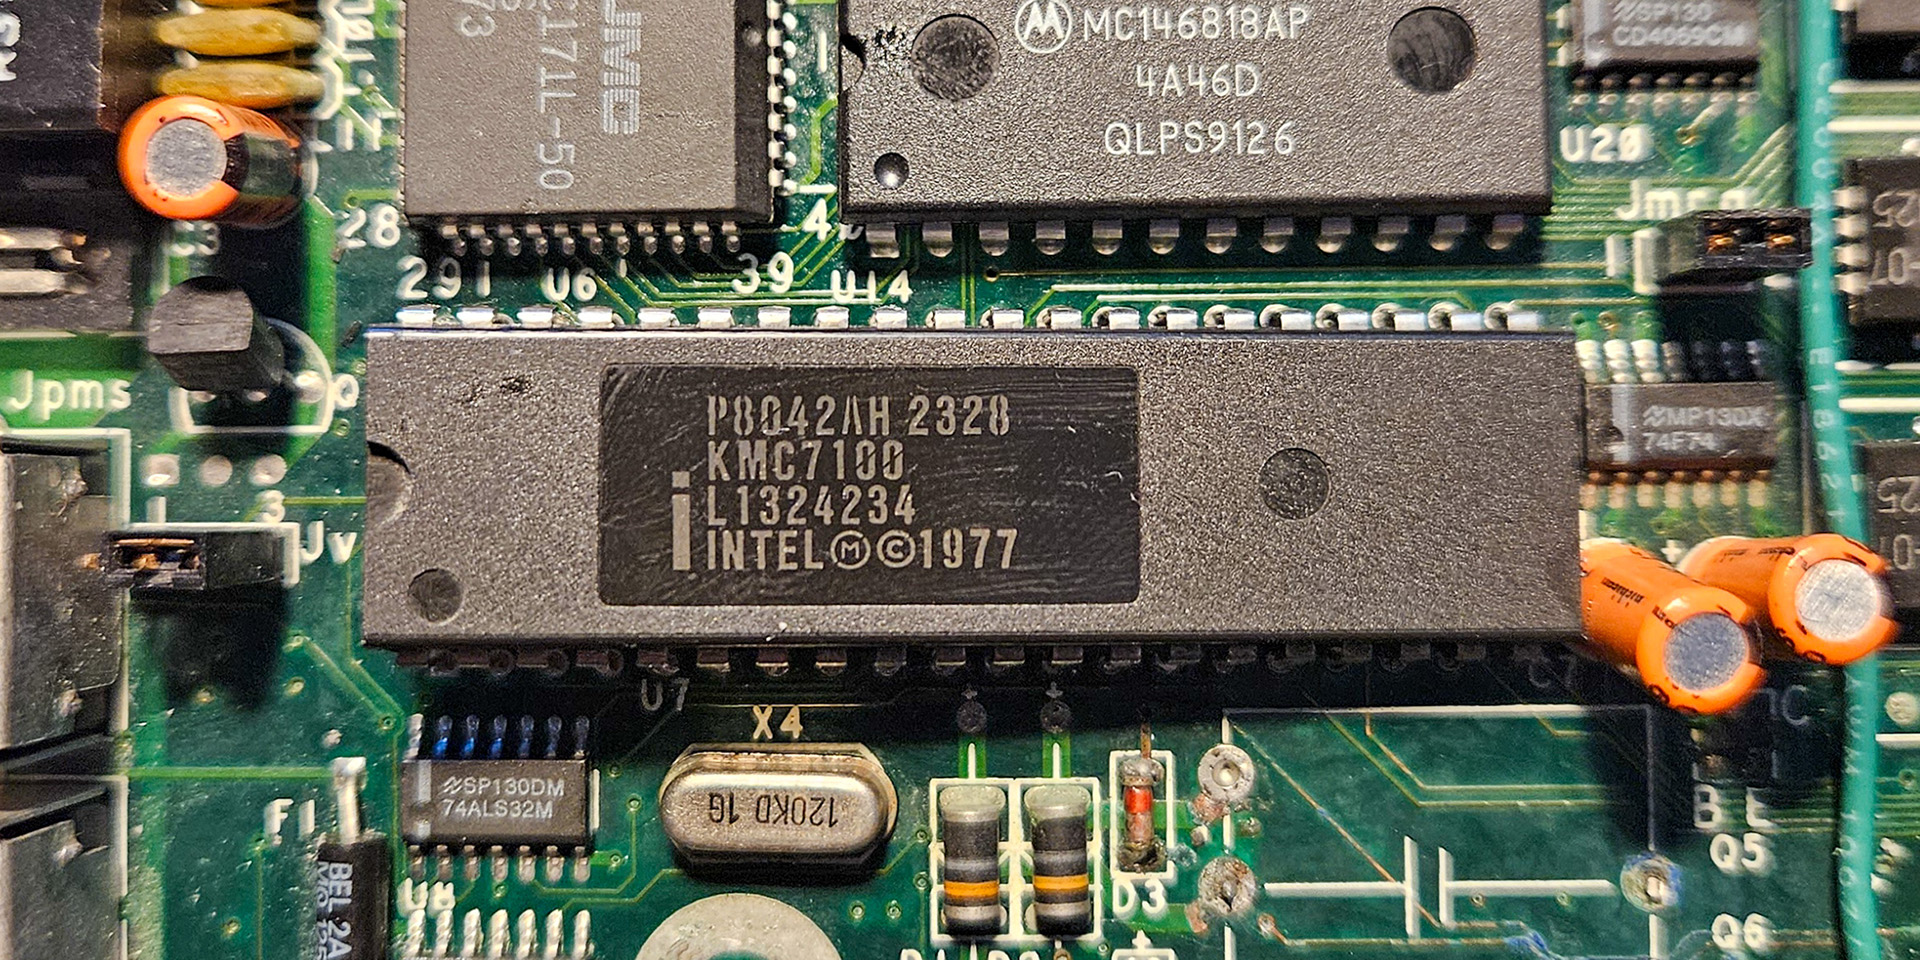
Intel 8042 keyboard controller bad?
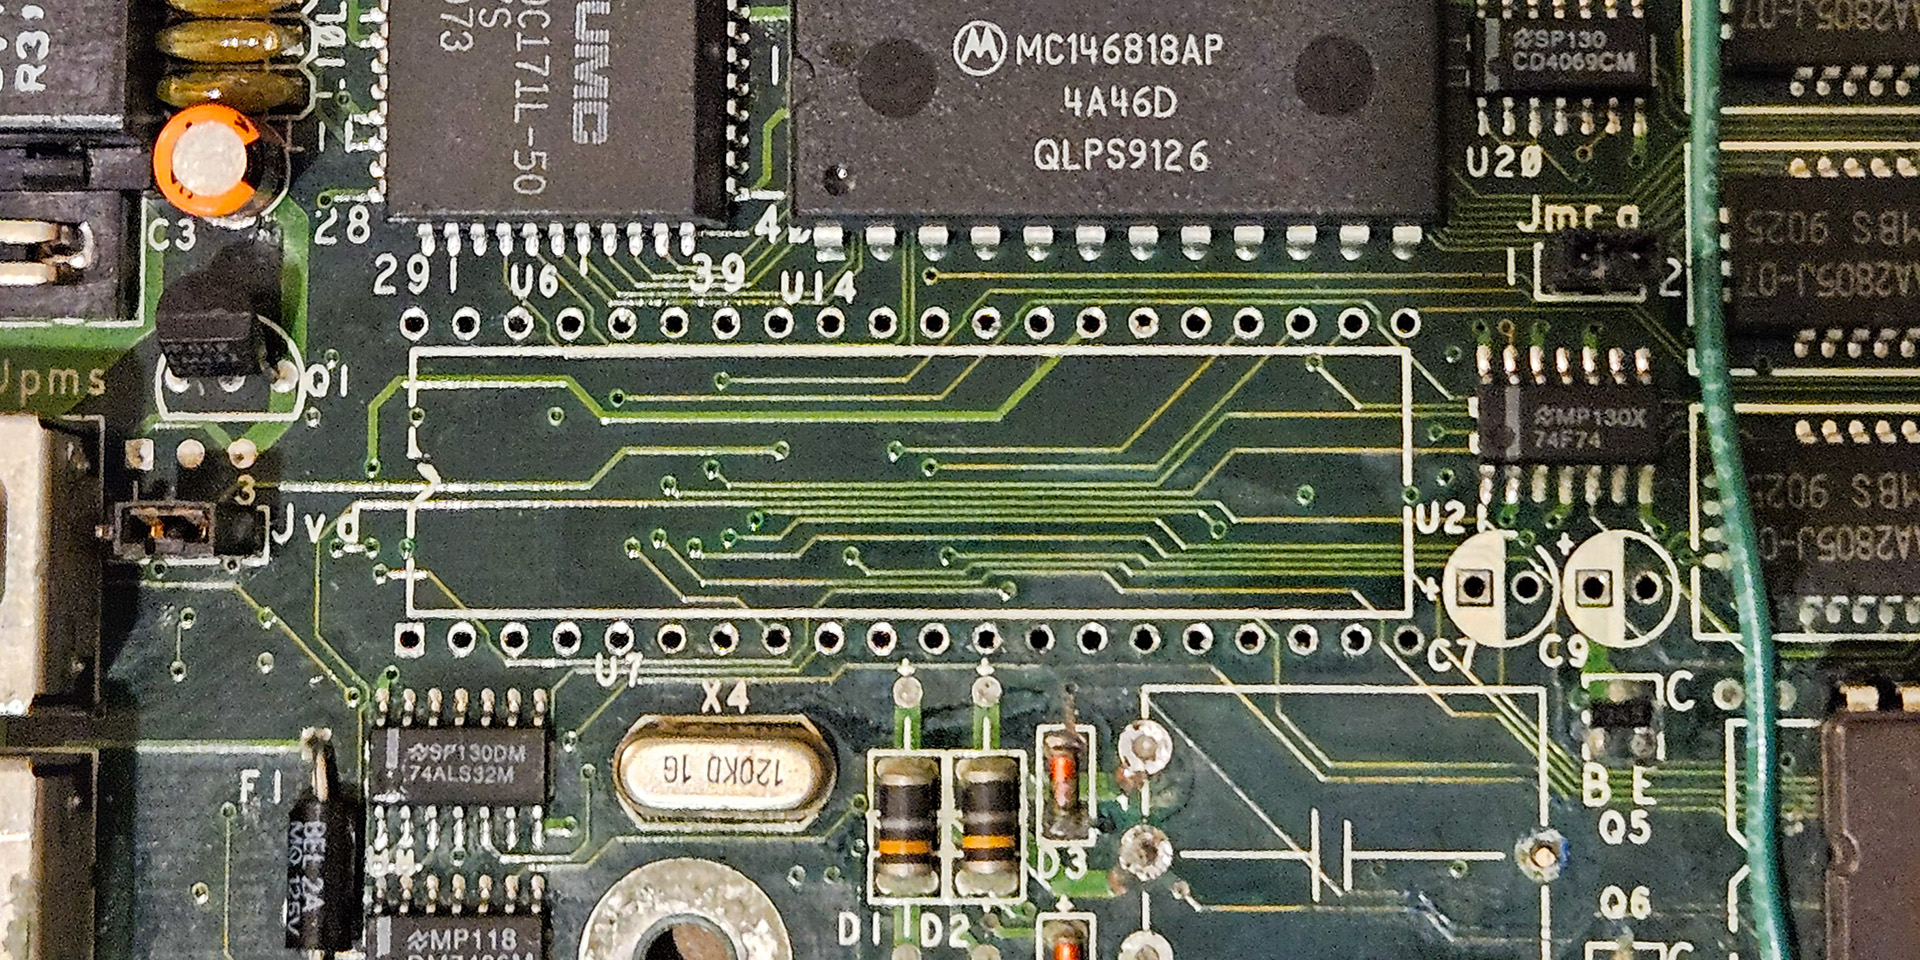
Chip desoldered, area cleaned.

40-pin socket installed.
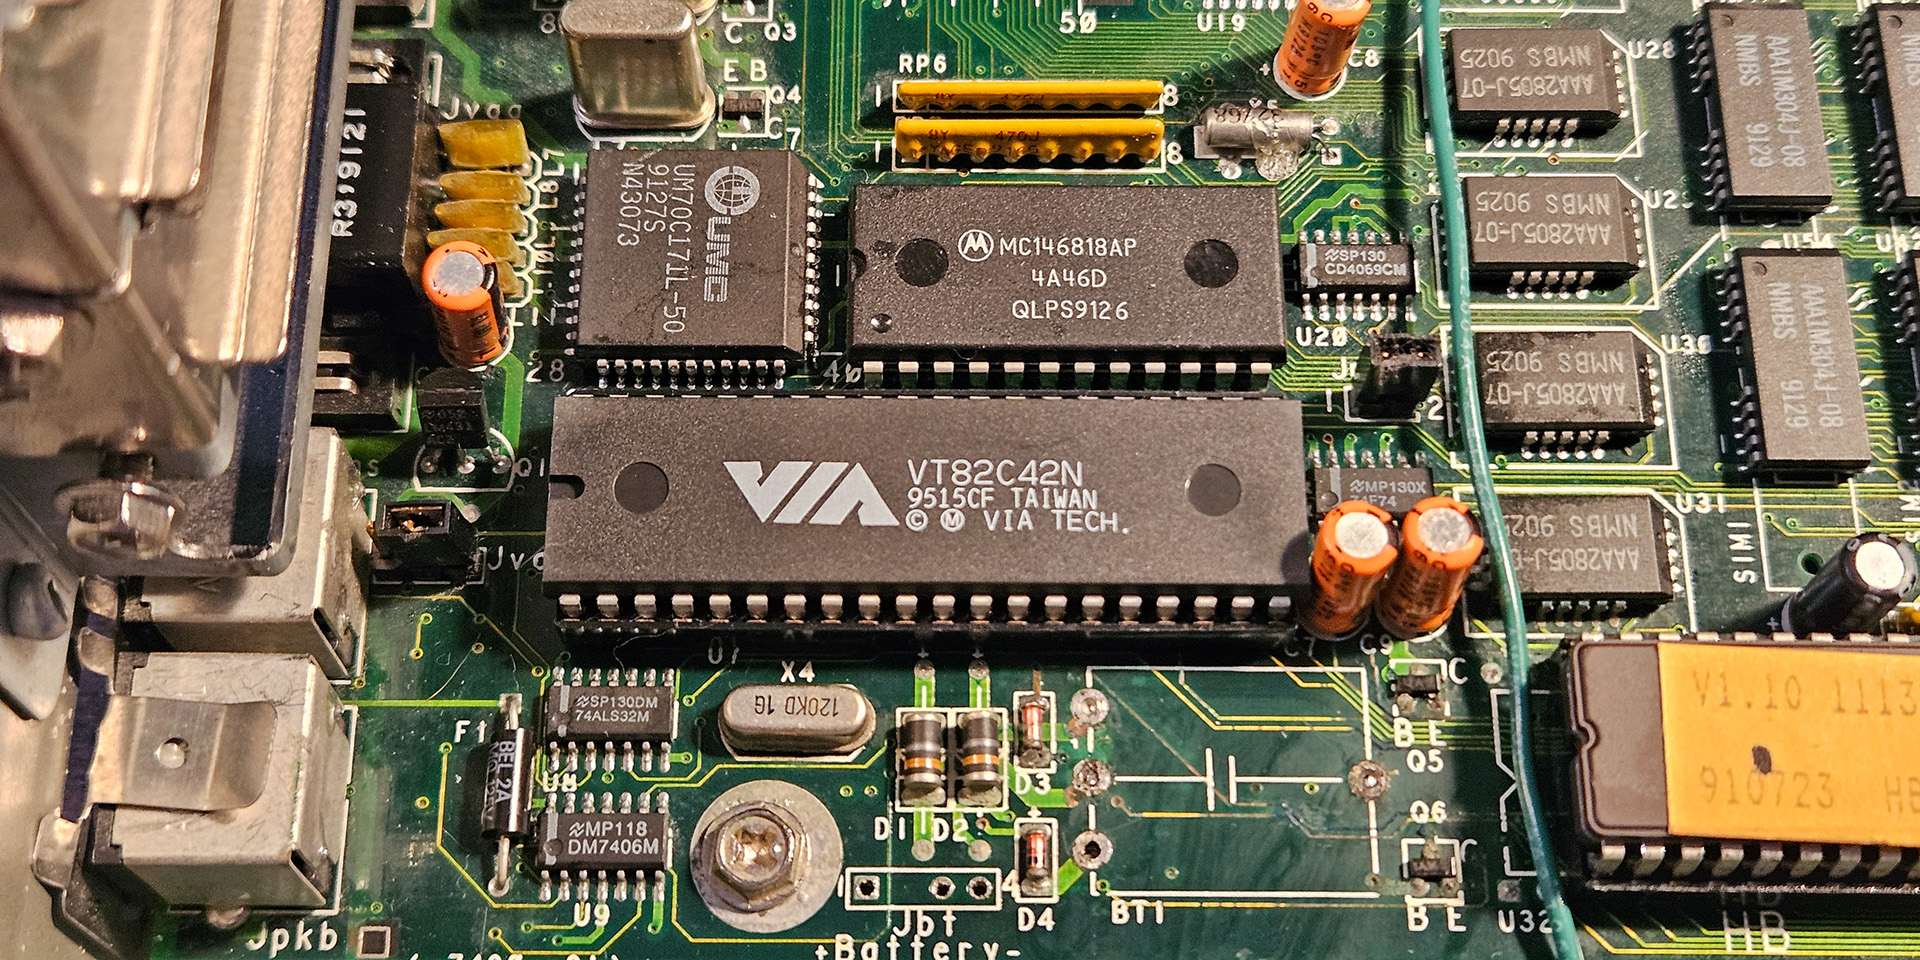
VT82C42 installed. Looks professional.
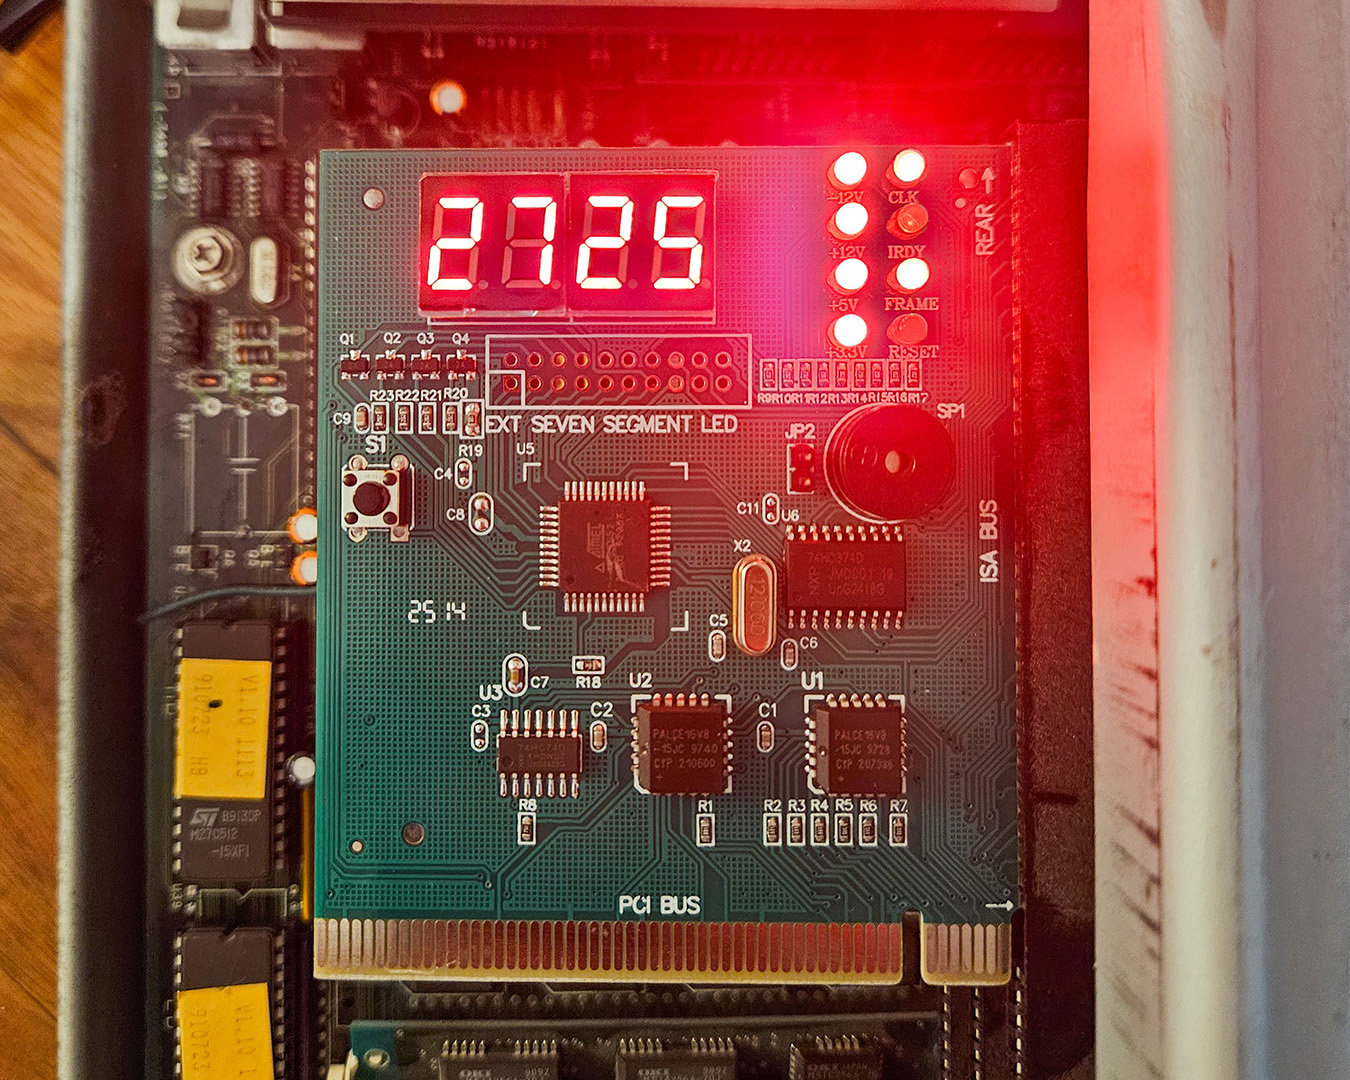
Unfortunately, the POST code remained the same regardless of whether the 8042 was installed, the VT82C42 was installed, or if no chip was installed at all. I knew that this likely meant that some component was bad or that I had missed a broken circuit board trace. I reinstalled the original 8042, set up my oscilloscope, and began probing the IC activity during startup. I scoped each of the 40 pins, one by one, as I applied power to the computer and the system attempted to POST. Almost all of the pins went to logic LOW/HIGH states or flickered with normal digital activity. I noticed, however, that three of the pins were not acting as expected. Two were clock lines, connected to a crystal oscillator. One appeared to float at 900mV (pin 2) and the other (pin 3) seemed to produce a very weak clock signal. Though this clock circuit appeared to be suboptimal, the keyboard controller IC still seemed to be flipping its output pins on and off. This means that the chip was executing code, a task that would be impossible without a clock signal. I then turned my attention to pin 9, which appeared to float at 1.6V. According to the datasheet, pin 9 (A0) is an input signal from the CPU telling the keyboard controller whether an incoming byte is a command or data byte. This pin floating would definitely explain why the CPU is unable to read from or write to the 8042. Clearly, I likely had another bad trace to find. I scoured the board and images that I took with the chip removed and found that there was a trace leaving pin 9 of the 8042 that went underneath the silkscreen IC outline. It then traveled directly below where the battery used to be, and then underneath the high BIOS IC. The trace appeared to end on pin 9 of the high BIOS. I traced its path as well as I could, and then checked continuity between the two ends. The trace resistance was in the megohm range and certainly faulty.
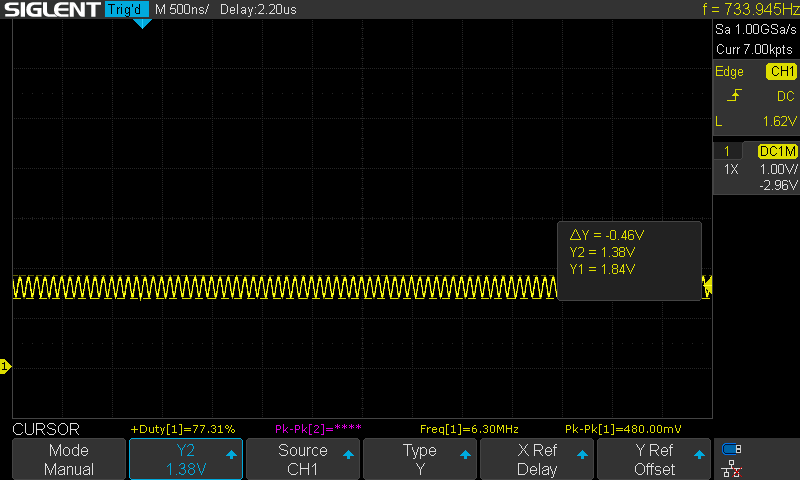
Does this look weak to you?
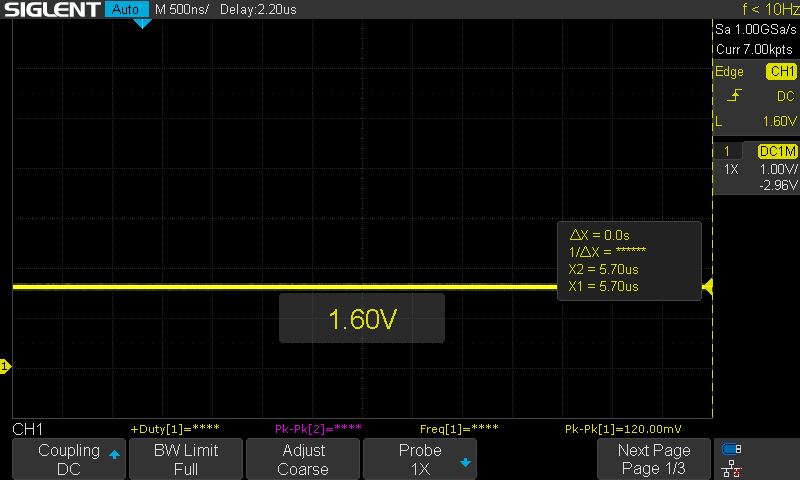
Yep, that's a floating pin. Not good.
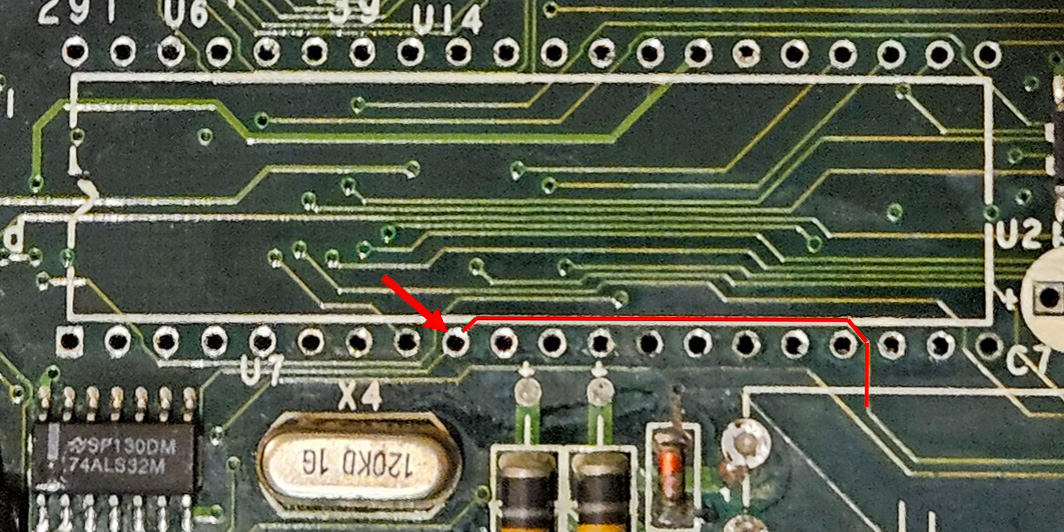
I'm not sure I would have ever found this if I hadn't pulled the chip out.
Honestly, this path was sort of a guess. Will fixing it work? Read on.
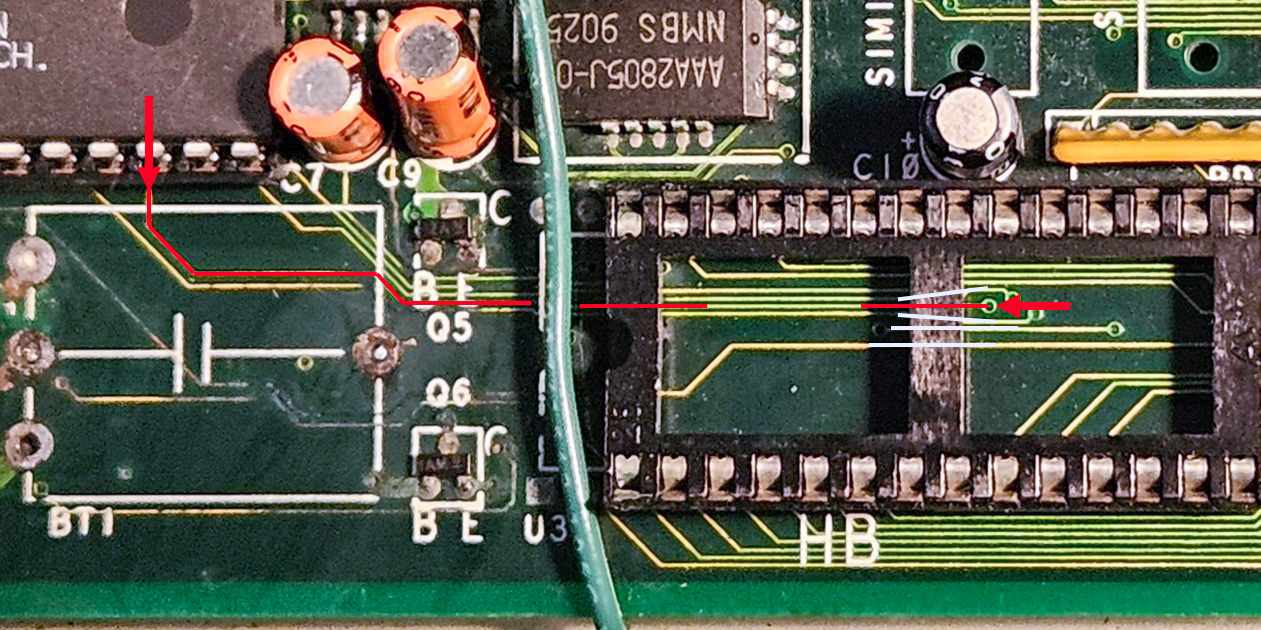
I installed a bodge wire between pin 9 of the 8042 keyboard controller and pin 9 of the high BIOS chip. I started the computer, heard two beeps, and knew that it was POSTing! I connected a monitor and found that it was attempting to boot.

Bodge #2, hopefully the last one...

Holy crap, it POSTs!
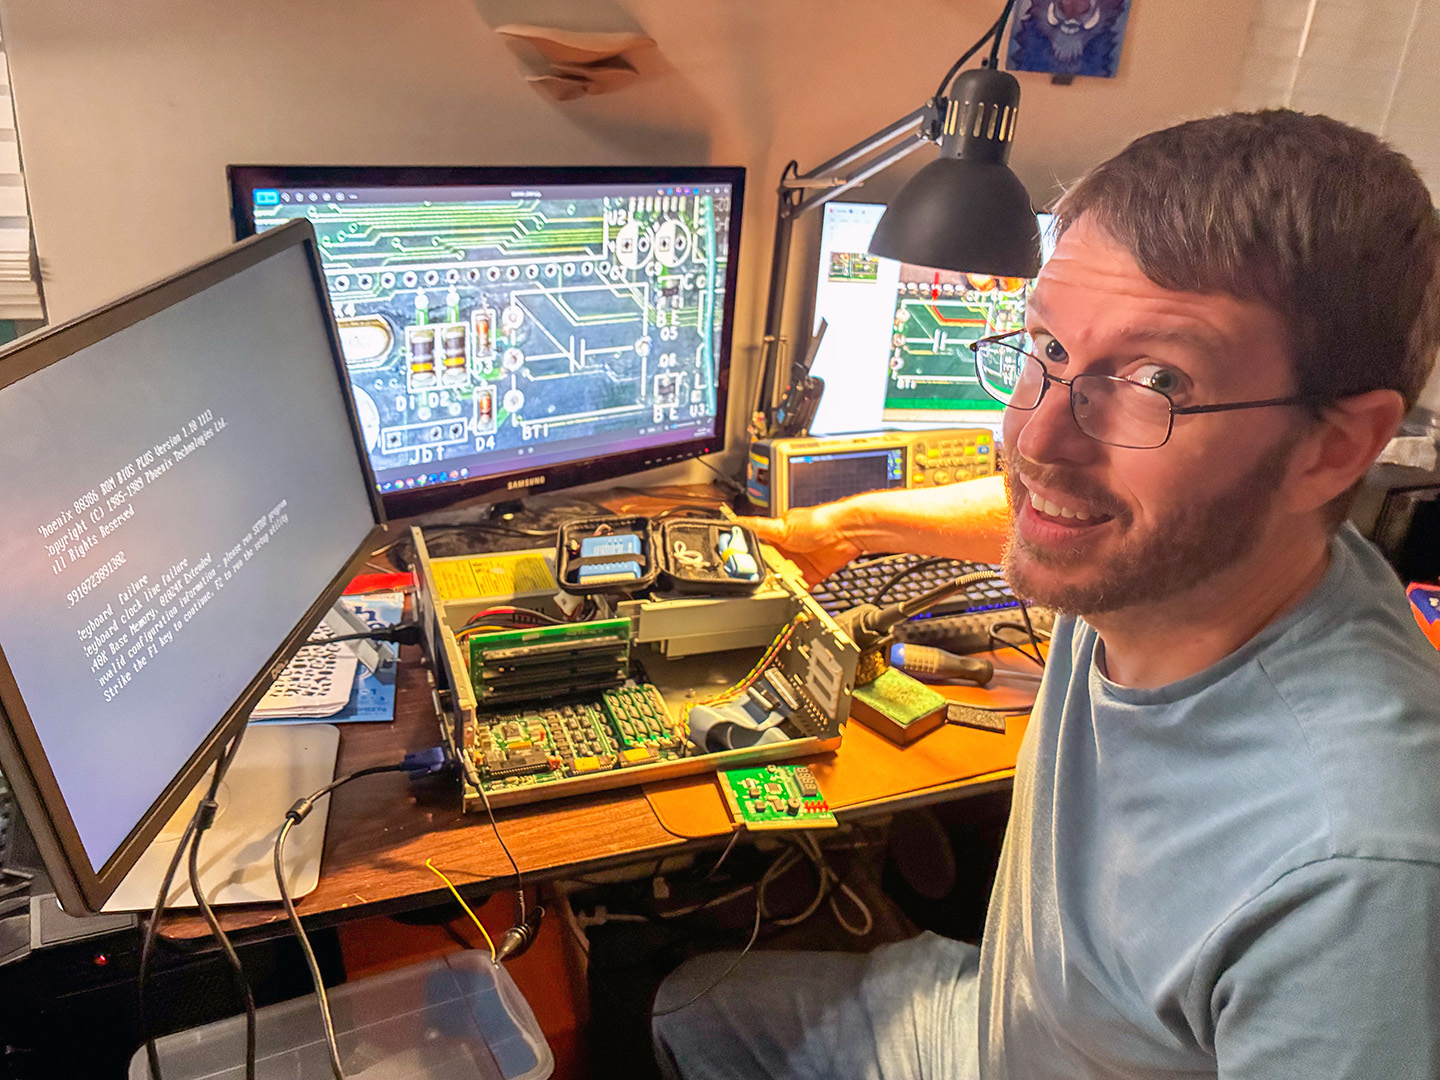
Now that's the face of sheer excitement.
Though there is a LOT more work to be done on this machine, I still feel a sense of accomplishment. I believe that this is my first successful in-depth board-level computer repair. I still need to test drives, install cards, and figure out a way to put a modern BIOS battery on the motherboard. For the moment, though, I will bask in the illusion that I’m good at working on computers. Stay tuned for part two.
Email: jacobcodotnet@gmail.com